
By Lucyan, ceramic artist at Jingdezhen Heritage.
Every commissioned edition starts with a block of plaster. Before any slip is poured, before the first cast is pulled from a mould, somebody has to turn a clay or wax master model into a hollow negative that opens, closes, and survives hundreds of casting cycles. That conversion — mould making — is where most of the quality of a ceramic sculpture commission is actually decided. This article walks through the sequence used in Jingdezhen production workshops, stage by stage, with the working numbers left in: the plaster-to-water ratio, the vent hole made with a 1 mm probe, and the reason keys are cut differently at each end of the mould.
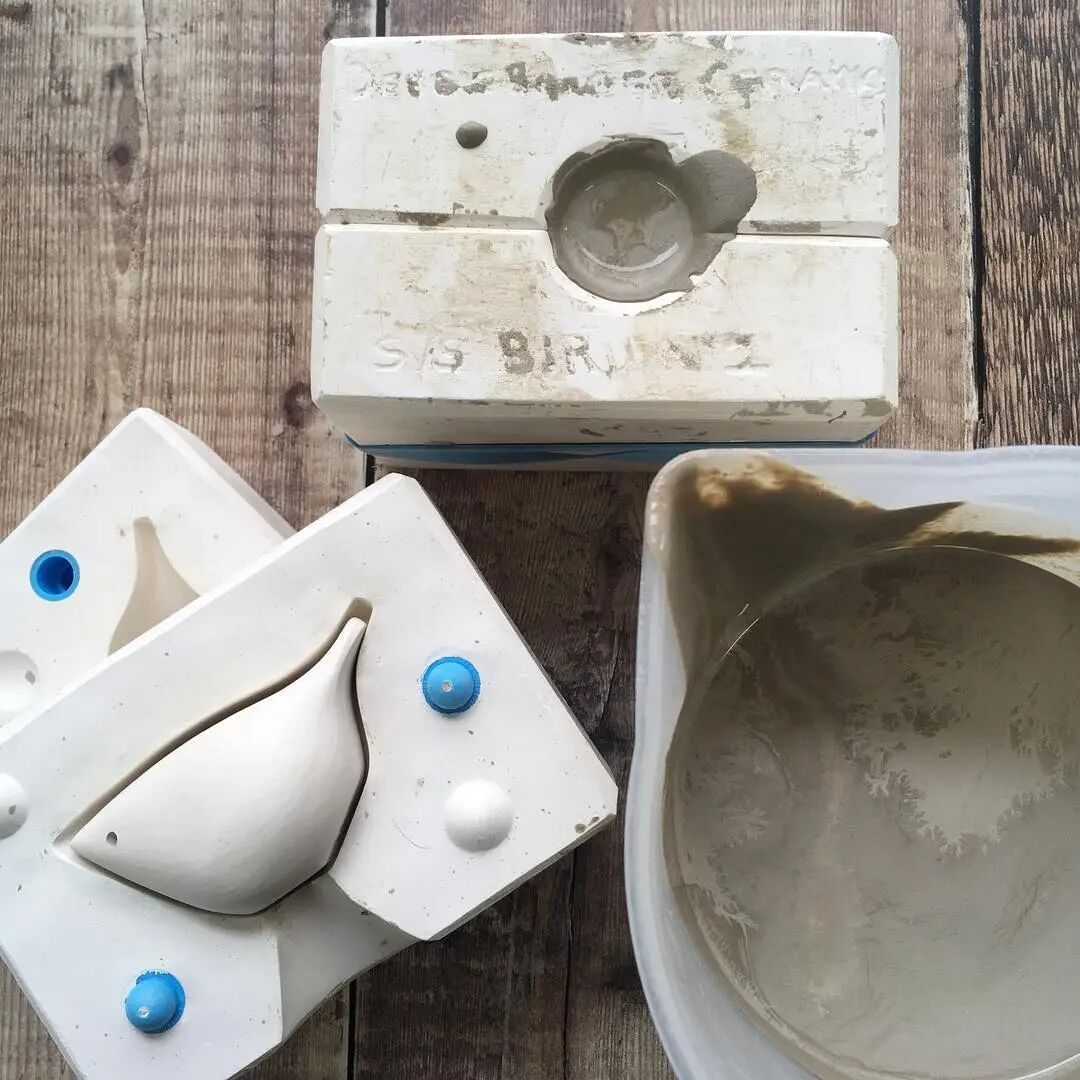
What a plaster mould actually has to do
Plaster is used because it is porous. When liquid slip sits against a plaster wall, the mould draws water out of the slip through capillary action, and a solid layer of clay body builds up against the cavity surface. The mould therefore has three jobs at once: define the outer surface of the piece, remove water from it at a controlled rate, and come apart cleanly so the soft cast can be removed without tearing. That third job is the reason mould making is a discipline of its own — a mould that cannot open without damage is worthless, no matter how accurate its cavity is.
It also has to keep doing this for an entire edition. How many casts a mould really delivers, and why it wears out at all, is the subject of our article on plaster mould life and edition size. This article stays one step earlier: how the mould is built in the first place.
Stage 1: fix the parting line before anything else
The parting line is where the mould will split into pieces, and it is decided by one rule: it runs through the model’s widest turning point — the silhouette where the form is at its largest. Slice the model mentally anywhere below that line and the cast would lock inside the mould half; above it, and the halves can lift away cleanly.
The second rule is economic: use as few pieces as the form allows. Every additional piece adds a seam that has to be cleaned off each cast, another joint that can leak slip, and more assembly time on every single pour. A skilled mould maker spends real time at this stage precisely because a two-piece mould that casts cleanly beats a four-piece mould that casts accurately but slowly. For sculptural forms with deep undercuts there is no way around multi-piece construction — but the decision is made deliberately, on the model, before any plaster is mixed.
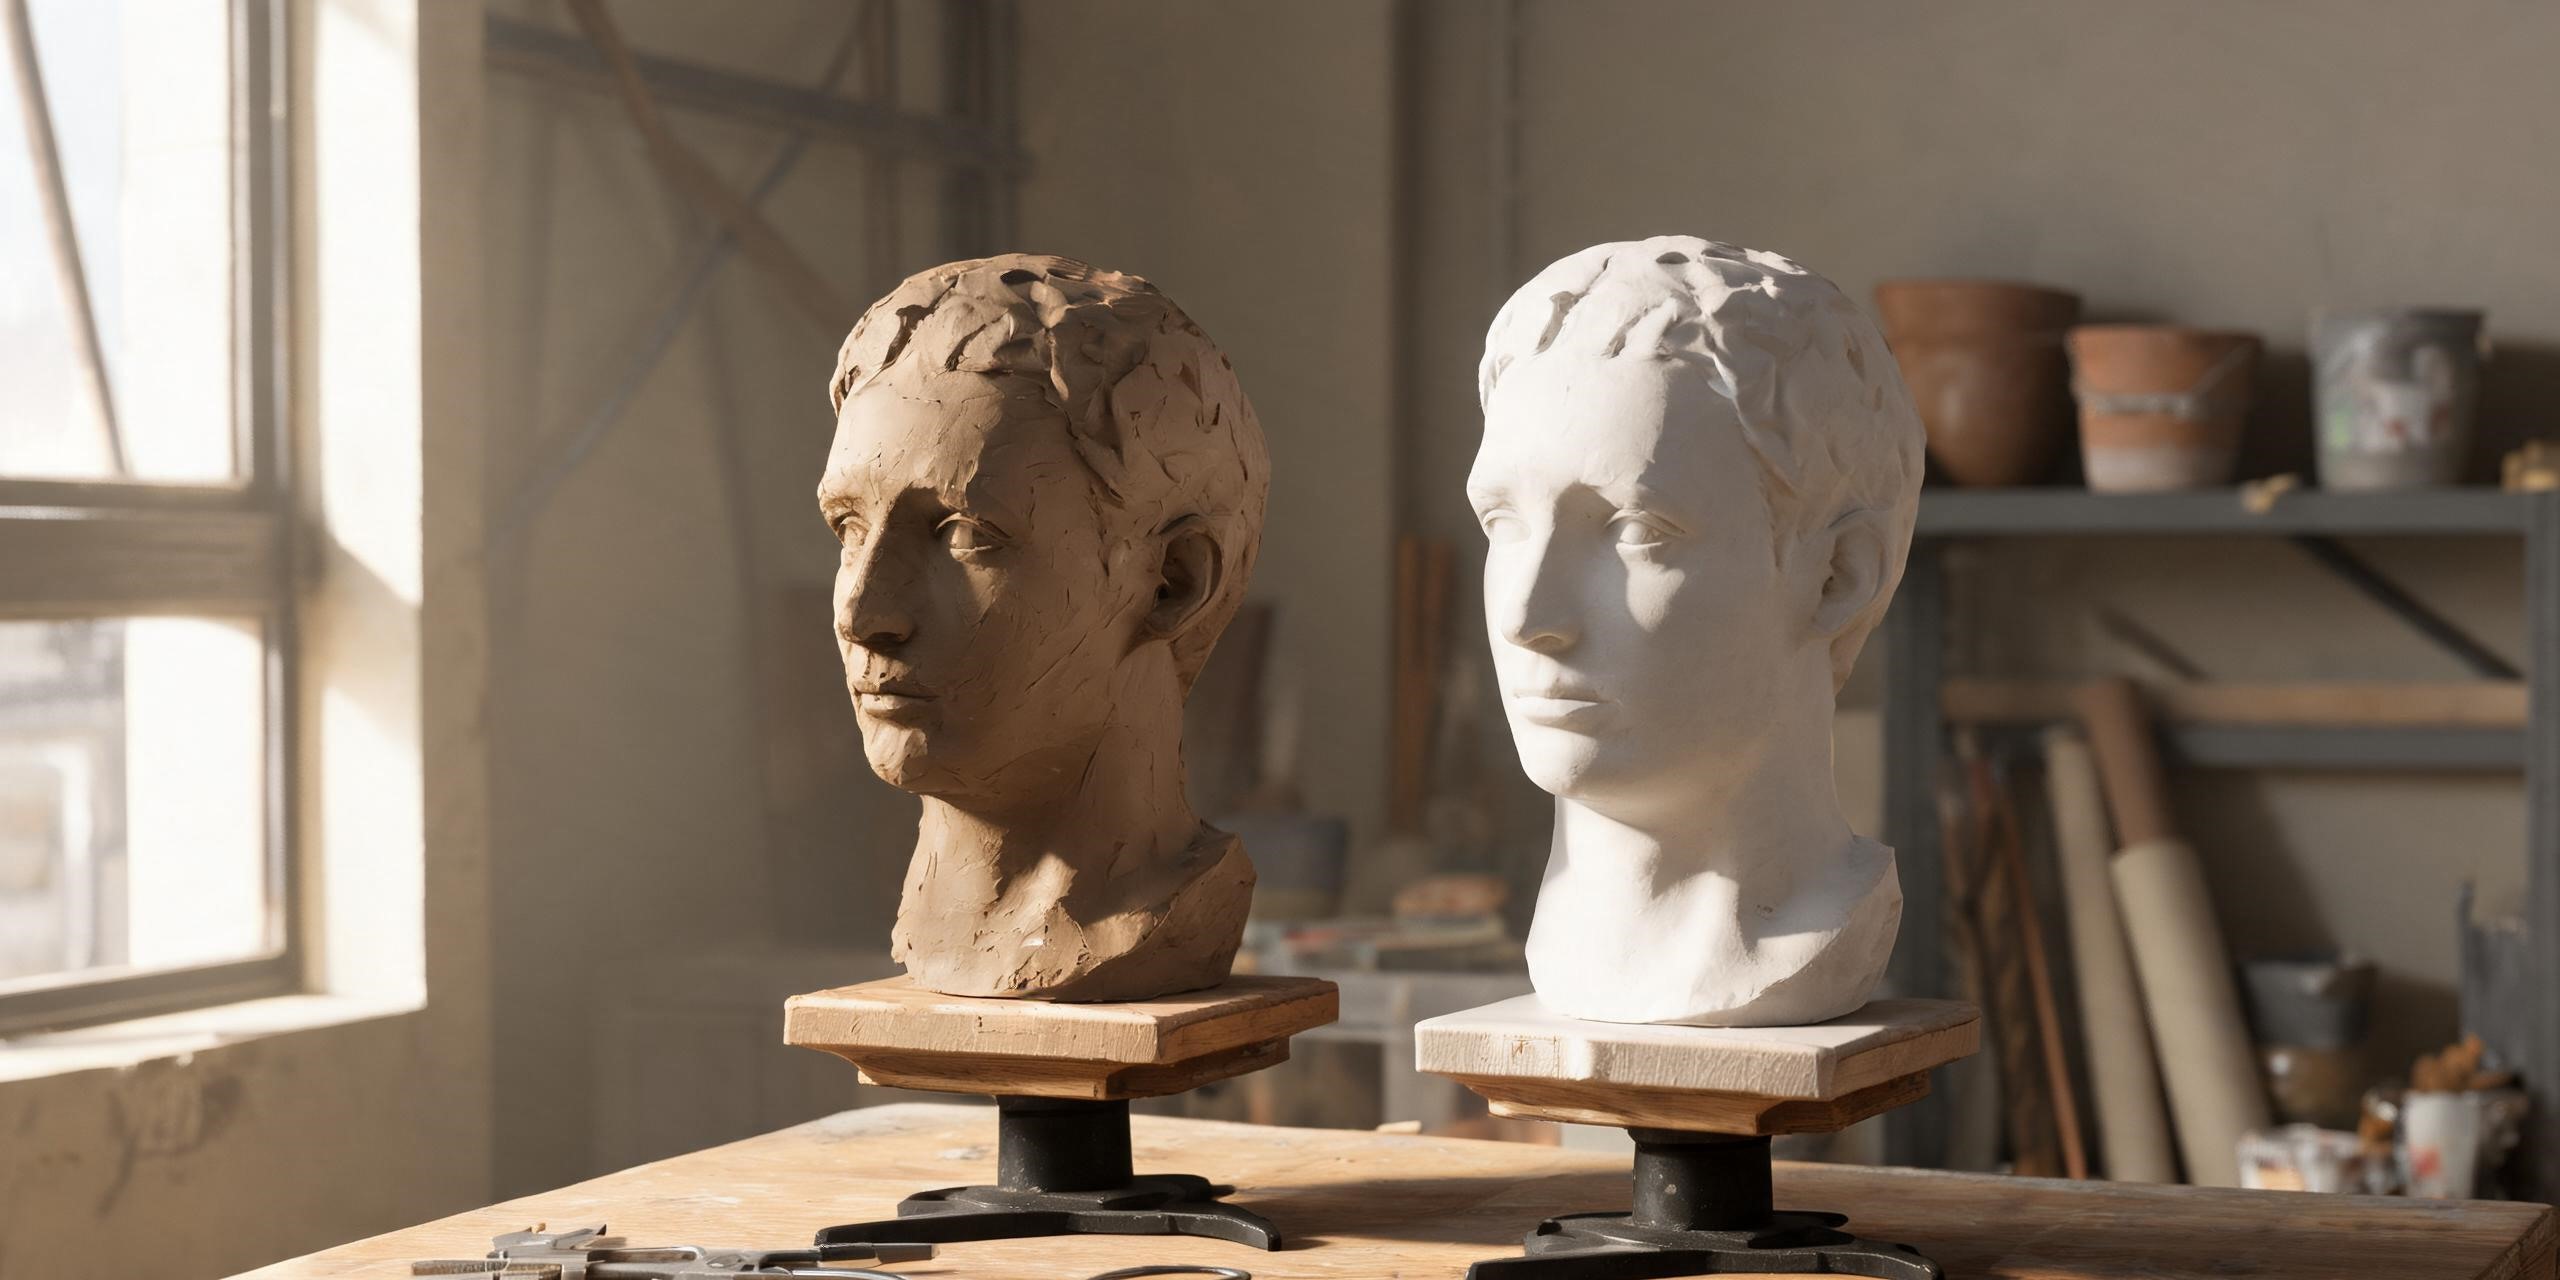
Stage 2: bed the model in clay
With the parting line chosen, the model is pressed into a bed of modelling clay up to exactly that line. The critical detail is level: the centres at both ends of the model must sit on the same horizontal plane. Workshops keep this honest by rolling clay into slabs of equal thickness with a straightedge, then stacking them until the model sits true — an eyeballed bed almost always hides a tilt that shows up later as a mould with one thick wall and one thin one.
The clay only needs to grip the model tightly along the parting line itself; elsewhere small gaps do no harm. What the clay surface produces is the flat back face of the first mould half, and that face must be perfectly flat, because the second half will be cast directly against it.
Stage 3: shutter the box
Around the model and its clay bed, the mould maker builds a temporary box — the shuttering, or cottle boards. Glass is the preferred material in production workshops, cut into panels of the right size: because it is transparent, the maker can watch the plaster filling the box and see immediately if it is finding every corner. Any flexible board works in principle; the two requirements are rigidity and a watertight seal.
Sealing is done with clay. Every joint between panels, and between panels and the clay bed, is pressed full of clay, because liquid plaster is thin enough to find a pinhole and a leak both wastes slurry and ruins the face of the mould. Opposite panels are then clamped together — workshops use clamps made from steel bar — and the whole box is tied with rope. The tying looks excessive until you know why: plaster expands slightly as it sets, and an unbraced box will be pushed apart, leaking from the bottom.
Forms with irregular silhouettes create gaps the flat panels cannot close; those are plugged with cardboard cut to shape, which the plaster simply sets against.
Stage 4: release agent, plaster, and the first pour
Before mixing, every surface that will touch plaster — the model and the clay — gets a coat of parting agent. Chinese production workshops traditionally use potassium soap for this: brushed on, it leaves a thin film that keeps plaster from gripping the model or the clay bed. Miss one spot and the plaster will weld itself to that point, and the mould will tear when it is opened.
The mix itself follows a fixed ratio: 1.25 parts plaster to 1 part water, by weight. The water goes into the bucket first, and the plaster is sprinkled across its surface by hand so each particle wets before it sinks — dumping plaster in as a lump traps dry islands inside the slurry. Workshops that need bubble-free moulds mix under vacuum: a vacuum mixer degasses the slurry before it is poured, so the finished mould has no entrapped air bubbles to print themselves as pinholes onto every cast.
The ratio is not arbitrary. More water gives a softer, more absorbent mould that wears quickly; less gives a hard, dense mould that absorbs too slowly. The 1.25:1 mix is the working compromise production studios have settled on — and because plaster grades differ, the honest rule is to keep the ratio identical from batch to batch, whatever it is, so every mould in a set absorbs at the same rate.
Stage 5: trim early, cut keys, cast the second half
Plaster goes from pourable to carvable in minutes. The moment it has set, the shuttering comes off and the surplus is trimmed away with a scraper — fresh plaster cuts easily, and the same cut becomes slow, hard work an hour later. The two clay pieces at the ends of the bed are kept rather than discarded: they are exactly the right size and shape to bed the mould for the second half.
Then the model comes out — carefully, because at this point mould and model grip each other at their tightest. What remains is a plaster half with a clean cavity, and its flat face now gets trued up with a scraper so the second half will sit against it without a gap.
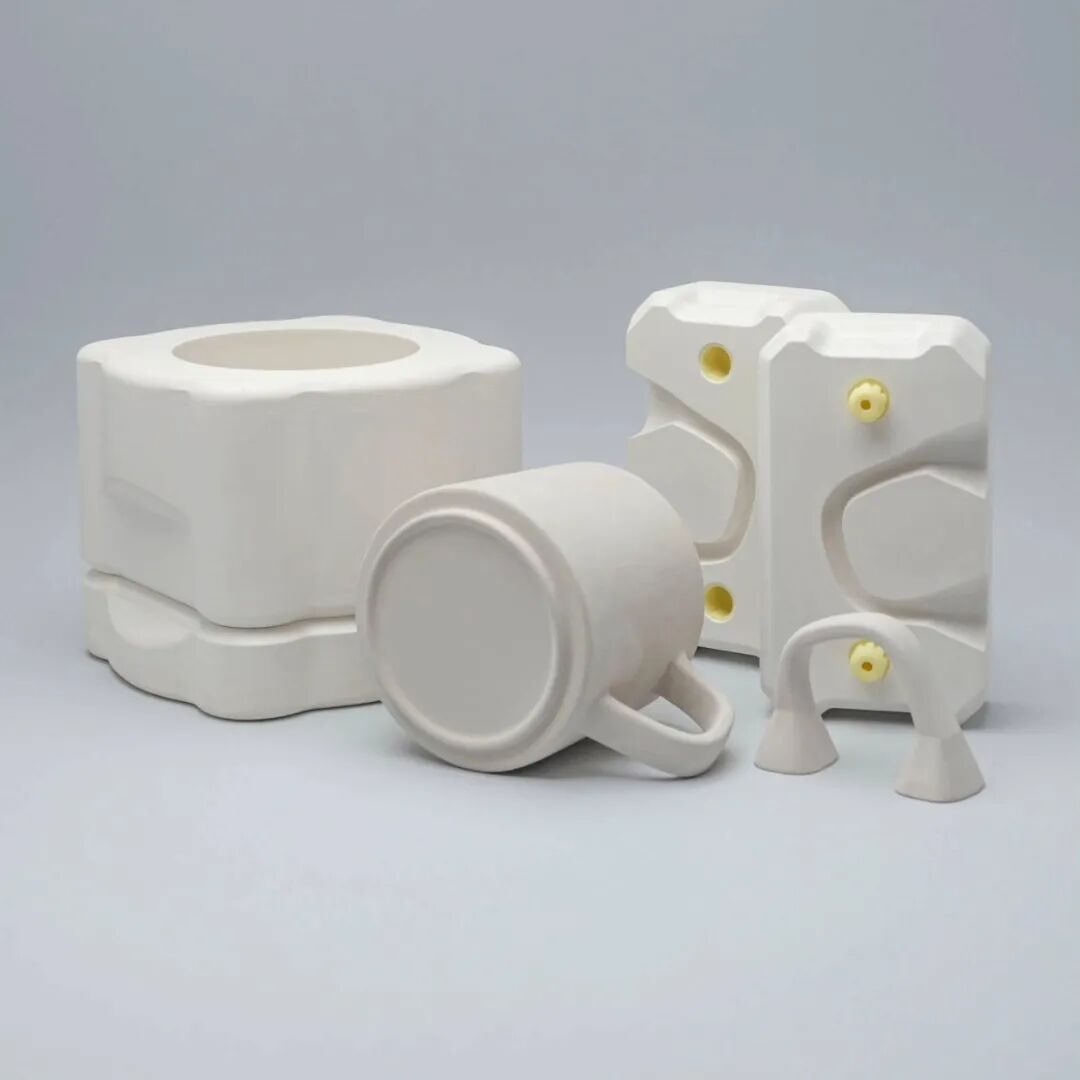
Keys come next, and they are worth slow work. Small depressions are carved into the flat face so the second half locates into them and the two halves cannot shift against each other during casting. On a two-part mould, the keys at the two ends are carved to different shapes — a round key at one end, a shaped key at the other — so the halves physically cannot be assembled back-to-front. Before any of this, the half is blown clean with an air gun: a single crumb of loose plaster trapped in the cavity will deform every cast the mould ever makes.
The second half is then built the same way: the kept clay ends go back, the plaster face and model get their coat of release agent, the box is re-shuttered and sealed, and fresh plaster is poured over the exposed back of the model. While the second half is still wet, one more detail is added that pays for itself for the life of the mould: a thin probe, about 1 mm in diameter, is pushed straight down through the plaster from the top until it touches the model. When the probe is withdrawn it leaves a fine vent hole — the opening through which compressed air will later be blown to separate the halves.
Stage 6: banded, gated, and left to dry
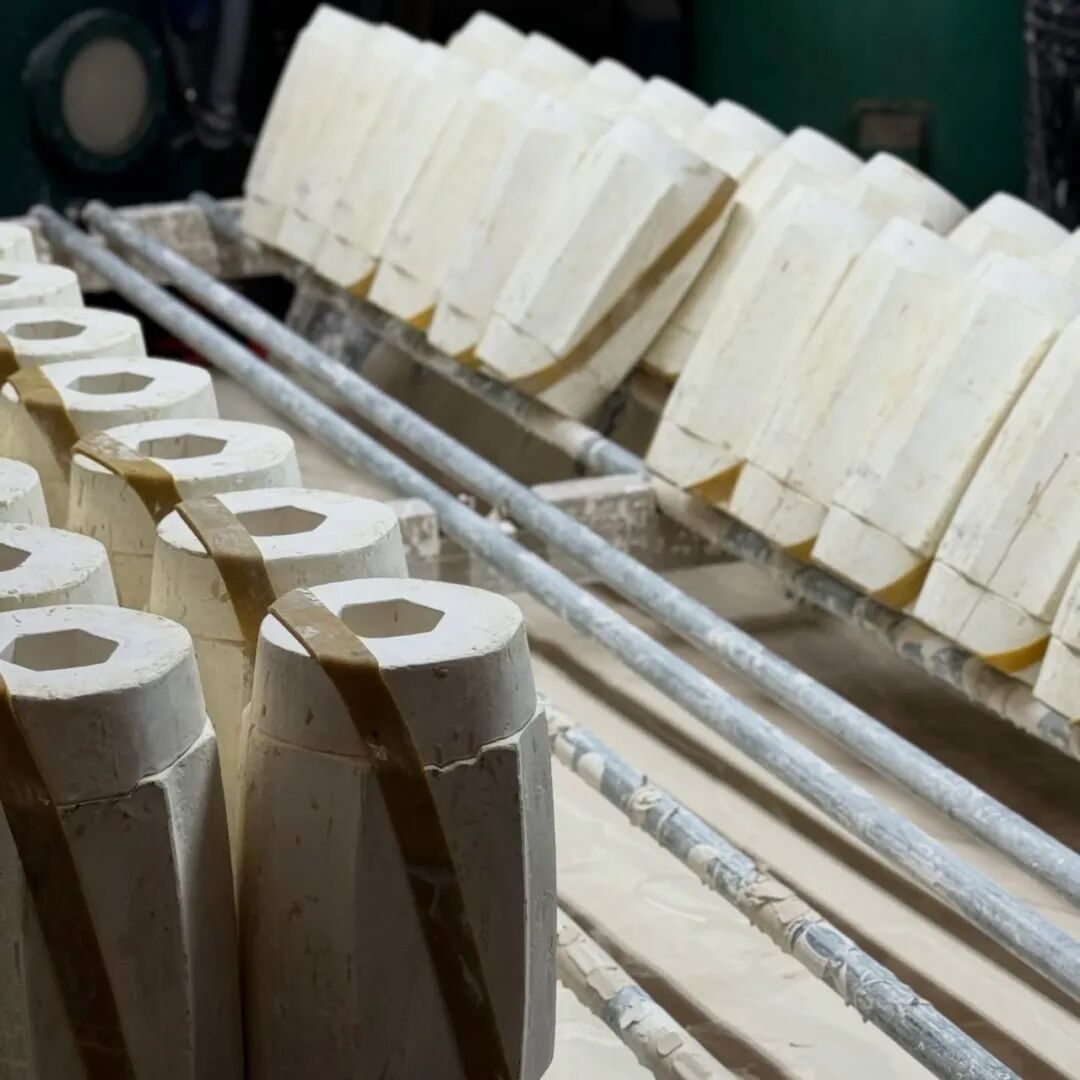
Before the ends are trimmed, the finished mould is tied shut with rope; without the bands, trimming the ends can work the halves apart. The pouring gate — the cup through which slip will be poured — is formed in clay at the joint now, while everything is assembled, so no cutting is needed later and no crumbs fall into the cavity. Complex forms are handled one end at a time: finish and trim one end, then build the shuttering for the other.
The mould is then left to dry on open racks. A mould cast too soon is still waterlogged and pulls water unevenly; a mould dried in a hurry — in sun or beside a kiln — dries unevenly and warps. Slow, even air drying is the whole trick.
Opening the mould for the first time
First openings are done in the reverse order of assembly. Usually the halves separate with a firm twist; occasionally they grip, especially on forms with gentle tapers. This is what the 1 mm vent hole is for: the nozzle of an air gun is pressed to the hole and a short burst of compressed air enters the joint between model and cavity, popping the cast free without prying at the plaster. Forcing a stuck mould with wedges or knives is how cavities get chipped — and a chipped cavity prints its damage onto every cast in the edition.
From first pour to edition arithmetic
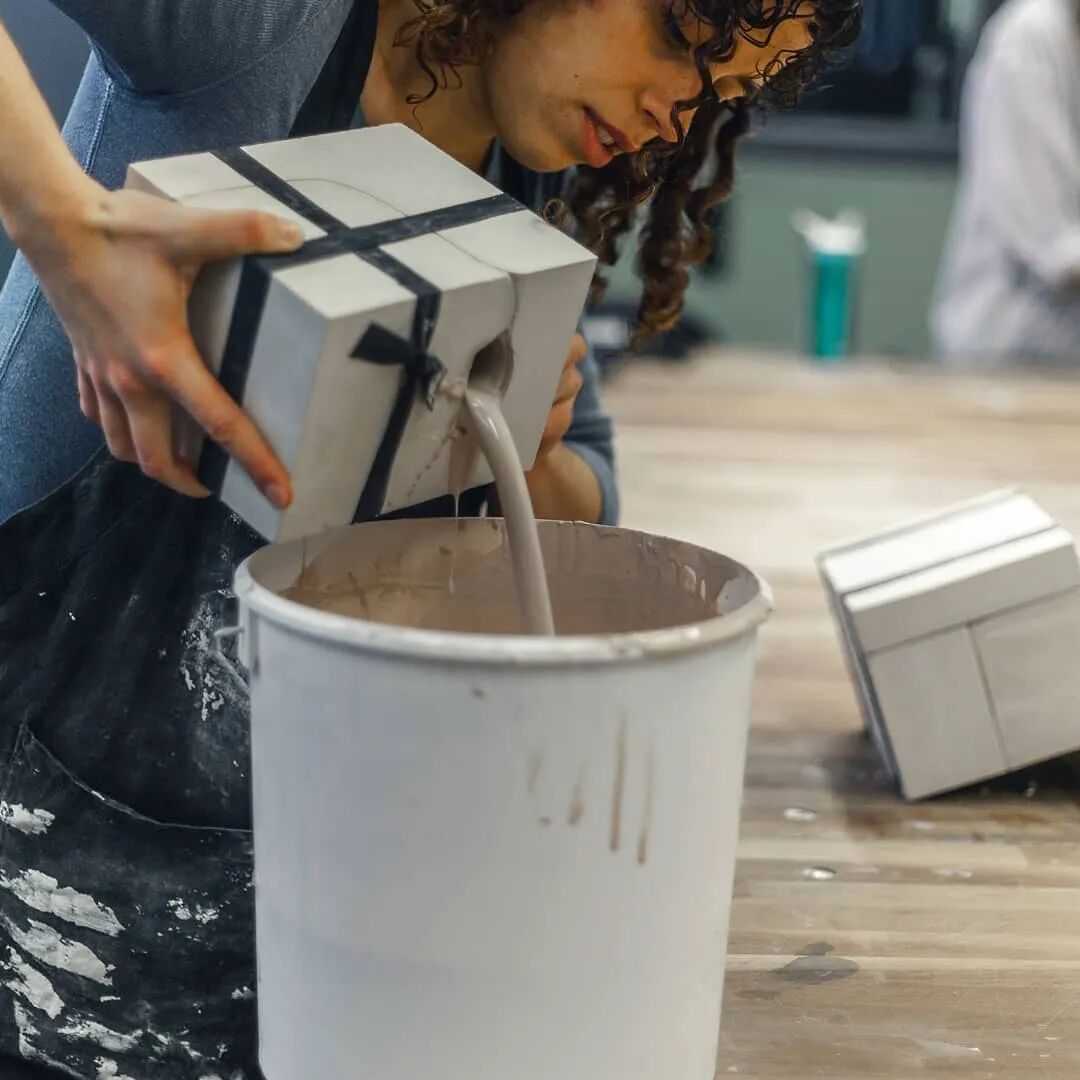
Once the mould opens cleanly, it enters service: slip in, dwell, drain, and the slow work of casting, which we describe separately in the slip casting process step by step and in the full mould preparation, casting and finishing workflow. What mould making determines is how long that service lasts. A mould mixed at a careless ratio, keyed lazily, or trimmed with grit left in the cavity will show its making long before its plaster wears out — the defects it causes look identical to the failures that appear after prototyping, and the edition arithmetic in plaster mould life quietly shrinks.
How this applies to commissioned work
Artists commissioning an edition do not need to make moulds — that is what our workshop does — but knowing the sequence changes the conversation. Ask how many pieces the mould will have, and why. Ask where the parting line runs, because the answer tells you where seams will be cleaned and where detail may soften. Ask whether moulds are mixed to a fixed ratio and degassed, and whether each mould in the set is cast from the same batch. Studios that can answer these questions plainly are studios whose fiftieth cast still matches the first. That is the standard we hold our own editions to, and it is the difference a well-made mould makes.
Questions artists ask before commissioning a mould-made edition
Why should a mould have as few pieces as possible?
Every extra piece adds a seam that must be cleaned off each cast, another joint that can leak, and more assembly time on every pour. Fewer pieces mean faster casting, fewer defects, and a mould that stays consistent for longer. Multi-piece construction is only used where a sculptural form genuinely demands it.
Where should the parting line go?
Through the model’s widest turning point. A parting line placed anywhere else leaves part of the form locked behind the mould wall, so the cast cannot release. Its position also decides where seams appear on the casting and which details soften slightly, so it is chosen deliberately before any plaster is mixed.
What ratio of plaster to water is used?
Production workshops in Jingdezhen work at about 1.25 parts plaster to 1 part water by weight: water first, plaster sprinkled in slowly, then mixed — ideally under vacuum so the slurry carries no bubbles. The exact ratio varies with the plaster grade, but the same ratio is kept for every batch so all moulds in a set absorb at the same rate.
How do you open a plaster mould that will not separate?
Moulds are opened in the reverse order of assembly. If the halves grip, compressed air is blown through the fine vent hole left by a 1 mm probe during casting; the air works into the joint and releases the cast without prying. Wedging or cutting a stuck mould chips the cavity, and that damage prints onto every later cast.
Why are mould keys carved differently at each end?
So the halves cannot be assembled back-to-front. If both ends carried identical keys, a reversed half would close silently and cast a deformed piece. Different key shapes at each end make the wrong assembly physically impossible — a small detail that removes an entire class of production errors.