
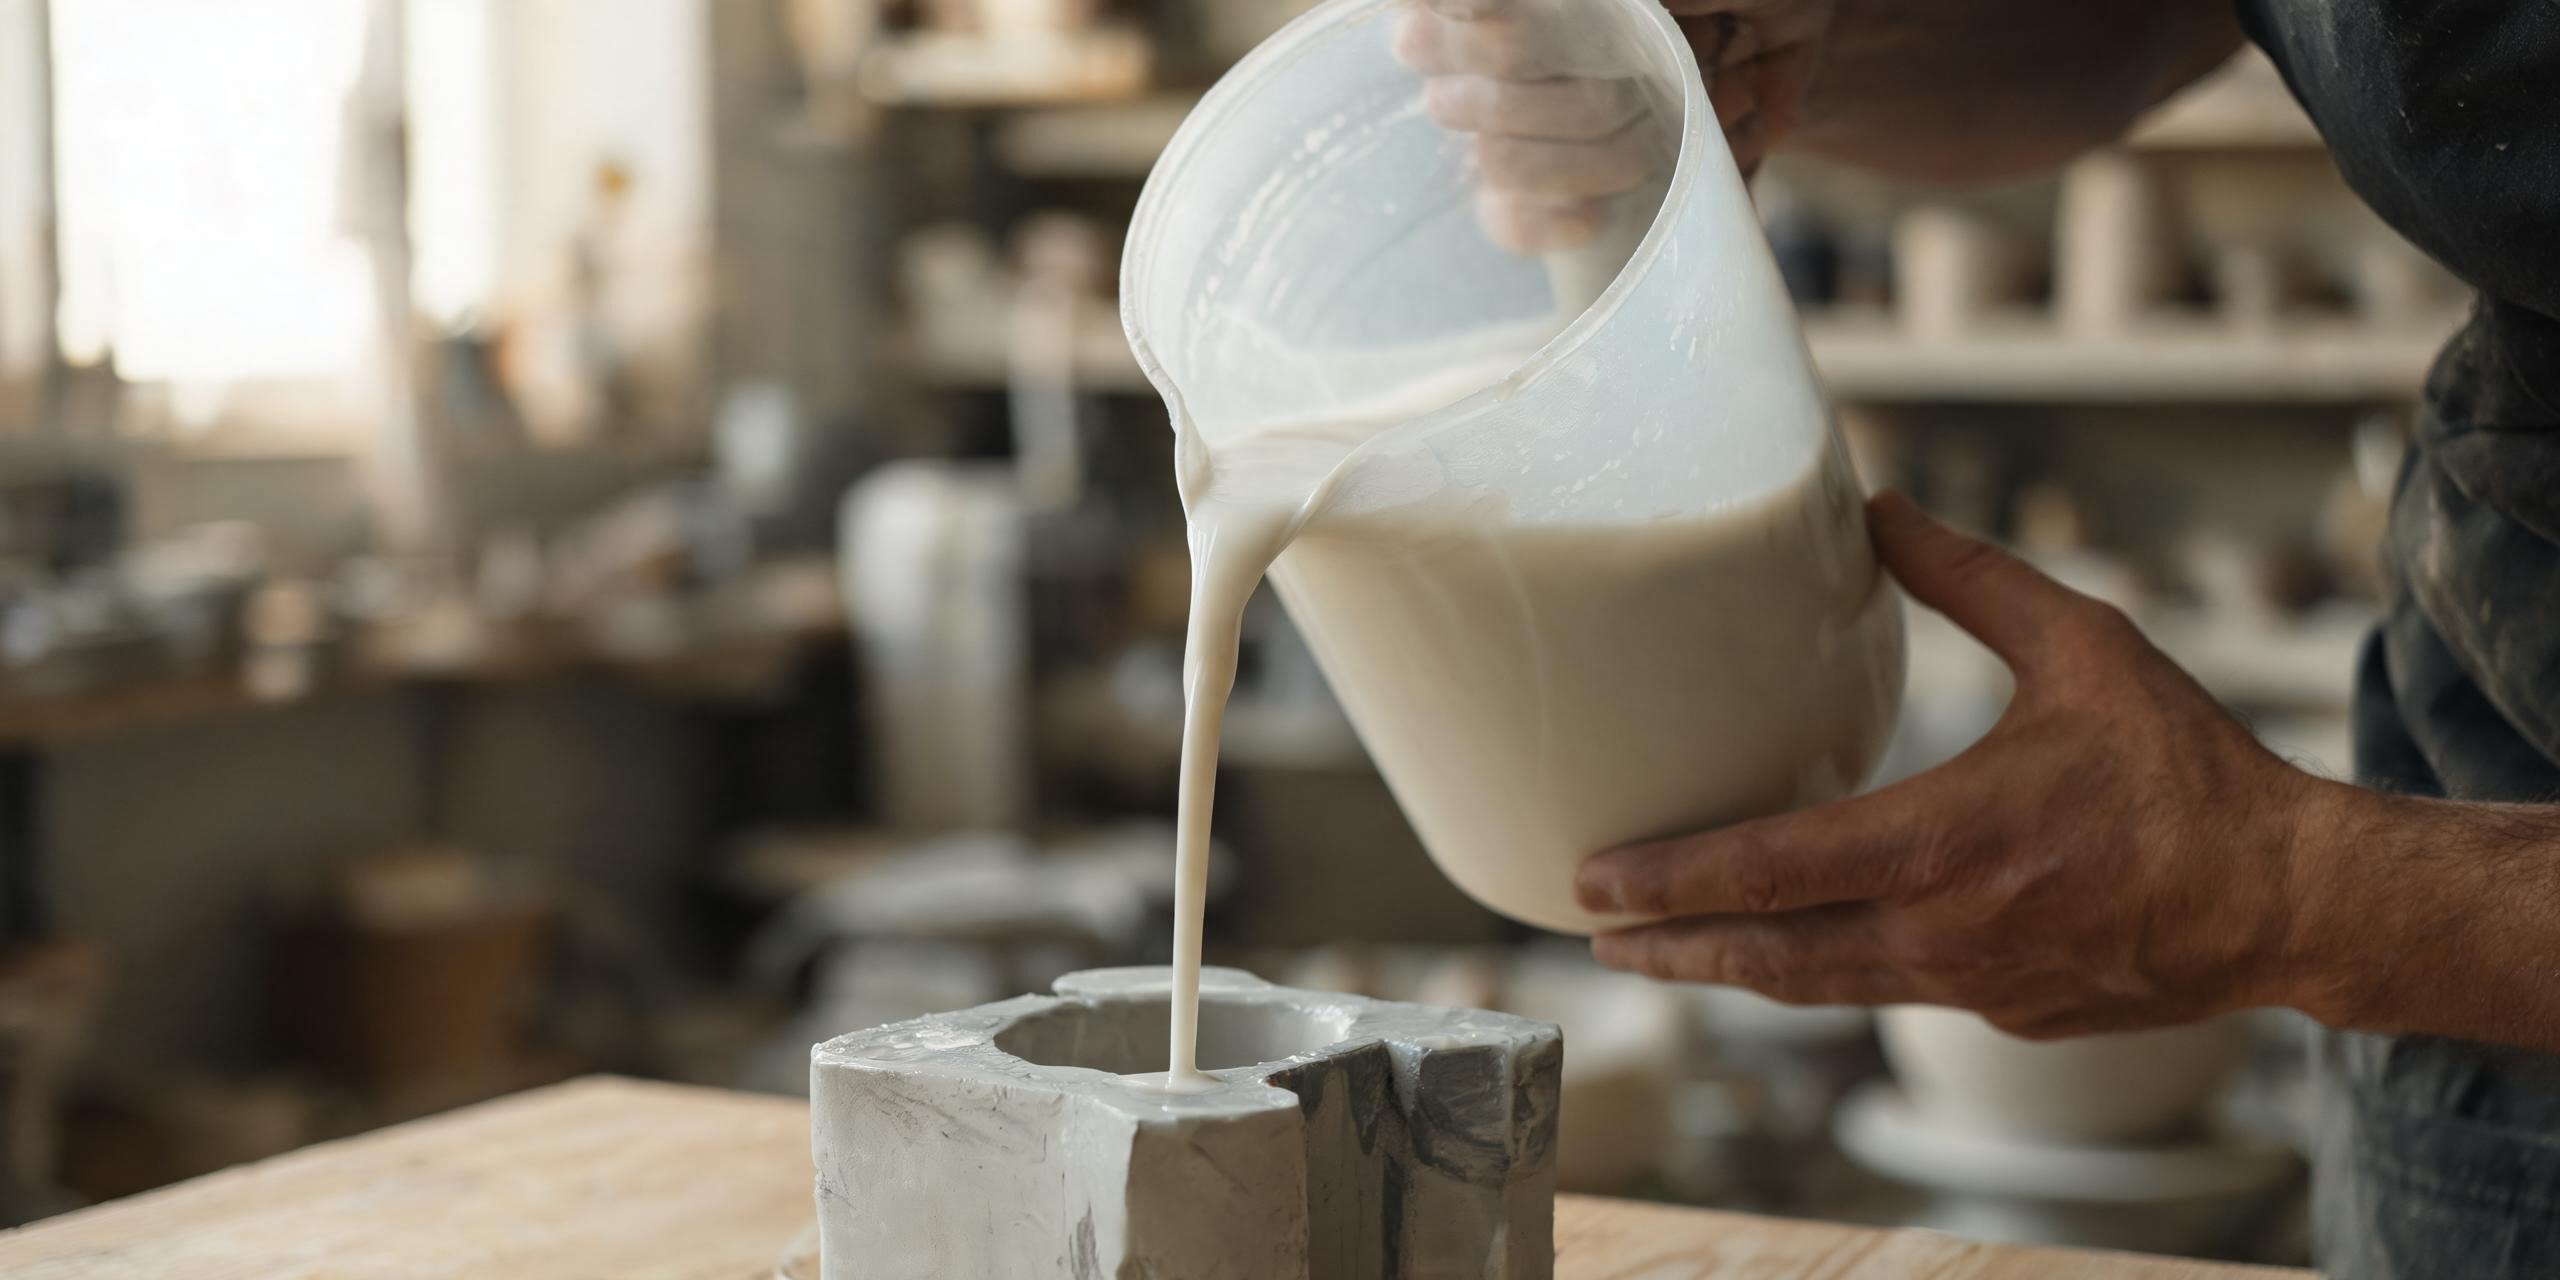
Slip casting is one of the most precise forming methods in ceramics, yet its success depends on a sequence of small steps that are easy to overlook. In Jingdezhen, where generations of workshops have refined the slip casting of hollow forms, the path from raw powder to fired ware runs through five clearly defined stages: preparing the slip, pouring it into the mould, demoulding the green body, drying it slowly, and firing it to maturity. Each stage has its own tolerances, and a mistake in any one of them can ruin a piece that looked perfect at the previous stage.
This guide walks through the entire slip casting process as practised in Jingdezhen, from the first mixing of powder and water to the moment a piece leaves the kiln. The emphasis is on the details that actually determine success: the right viscosity, the right mould moisture, the right demoulding time. For anyone commissioning or making cast porcelain, understanding these steps is the difference between reliable repeatability and a piece that comes good only by accident.
Stage One: Preparing the Slip in a Jingdezhen Workshop
The slip is the foundation of every cast piece. It must flow easily, stay homogeneous while it sits in the mould, and deposit a dense, even layer of clay as water is drawn out. A slip that is too thin produces a weak body that shrinks and cracks on drying; one that is too thick will not fill the mould properly and may trap air. In Jingdezhen workshops slip preparation is treated as a discipline in its own right, and experienced makers test every batch before it reaches a mould.
The process begins with the ceramic powder. The powder is ground fine and then blended so that coarse, medium and fine particles are mixed together. A well-graded powder packs more tightly, which reduces the water content needed for a given fluidity and gives the cast body higher density. Iron is a particular concern in porcelain production, because even small traces of iron oxide create dark specks in the fired white body, so the powder is passed through magnetic separators to remove metallic iron before mixing begins.
The liquid medium is almost always water for porcelain, free of calcium and magnesium ions that would flocculate the clay and thicken the slip. Special non-oxide ceramics such as silicon nitride react with water, so alcohol or another organic liquid takes its place. A dispersant u2014 water glass, sodium carbonate or ammonium polyacrylate u2014 makes the particles repel one another instead of clumping, dosed precisely at 0.2 to 0.5 percent of the dry powder weight. Too little and the slip settles; too much and fluidity drops again.
Powder, liquid and dispersant go into a ball mill, where tumbling balls blend them into a uniform slip. Milling time is a balance: too short and the slip is uneven, too long and metal contamination or heating changes its behaviour. De-airing follows, usually under vacuum, because trapped bubbles become pinholes or internal cracks in the cast body; a little defoamer such as n-butanol may be added to help.
Before use the slip is tested for viscosity, solid content and pH. Viscosity is often checked with a Tu-4 flow cup, where the drain time gives a repeatable reading; a typical porcelain slip drains in 20 to 40 seconds. Solid content usually sits between 65 and 75 percent: lower means more water to remove and greater shrinkage, higher makes the slip too thick to pour. pH is kept slightly alkaline, between 8 and 10, where most dispersants work best.
| Property | Typical range | Why it matters |
|---|---|---|
| Viscosity (Tu-4 cup) | 20u201340 seconds drain time | Too thin and the body is weak; too thick and it will not fill the mould |
| Solid content | 65u201375% of total mass | Sets drying shrinkage, density and pourability |
| pH | 8u201310 (alkaline) | Keeps the dispersant effective and the slip stable |
| Dispersant dosage | 0.2u20130.5% of powder weight | Controls flocculation and fluidity |
Stage Two: Pouring and Forming the Body
With a good slip ready, the next stage is the mould. Plaster moulds are the standard in Jingdezhen because they absorb water by capillary action, drawing it out of the slip and leaving a clay shell against the mould wall. Before use, each mould is checked for moisture, temperature and cleanliness. A mould should be dried to a moisture content of roughly 5 to 15 percent: too dry and the body surface powders and crumbles, too wet and it absorbs slowly, leaving a soft, weak shell. Temperature is kept between 30 and 40 degrees Celsius; above 50 the slip can set prematurely against the surface. The inner surface must be free of residual clay, grease and scratches, and is usually blown clean with compressed air or wiped with a slightly damp sponge.
There are two main ways to pour. In hollow casting, the most common method, slip is poured into the mould and left until a clay shell of the desired thickness has built up against the walls, after which the remaining liquid slip is poured out. In solid casting, used for complex or filled forms, the slip fills the entire mould cavity and all walls absorb water until the whole volume has set. The choice depends on whether the object should be hollow or solid.
Pouring itself needs care. The slip should flow continuously, steadily and slowly, and many makers guide it down a rod held against the mould wall so that it does not splash or trap air. For large pieces or higher strength, pressure casting may be used instead, forcing the slip into the mould at 0.1 to 0.5 megapascals to speed up water removal and densify the body. The dwell time determines the wall thickness and is calibrated by trial: small pieces may need 10 to 30 minutes, large ones several hours. Too long and the body becomes too thick with uneven moisture that cracks; too short and the shell is too thin to survive demoulding.
In hollow casting, once the target thickness is reached the remaining slip is drained out, tilting the mould slowly so the surplus flows evenly without washing the edge of the new shell. The mould then keeps absorbing water from the body u2014 in-mould drying u2014 hardening the shell and starting its separation from the wall. This happens in a ventilated space out of direct draughts at 20 to 30 degrees, and lasts from half an hour to several hours depending on size.
| Step | Key control | Common fault |
|---|---|---|
| Mould preparation | Moisture 5u201315%, temperature 30u201340C | Powdering surface if too dry, soft body if too wet |
| Pouring | Slow, steady, air-free flow | Trapped bubbles and streaks if poured too fast |
| Dwell time | Matched to target wall thickness | Cracking if too long, breakage if too short |
| Draining | Slow tilt, even flow | Washed edges and uneven walls |
Stage Three: Demoulding and Trimming
Demoulding is the moment of greatest risk, because the green body is at its most fragile. The maker looks for three signs of readiness: the colour has lightened, a light finger press leaves no dent, and a slight gap has opened at the mould edge as the body shrinks away. Too early and the body collapses; too late and it has stiffened against the mould and cracks when forced out.
To demould, the mould sections are separated carefully; if a part sticks, a thin bamboo or plastic spatula is worked gently into the seam rather than pulling hard. The piece is then trimmed at once: seam flash, pour-hole excess and surface unevenness come off with a sponge or knife. The best moment is the leather-hard stage, at about 15 to 20 percent moisture, when the body is strong enough to handle but still cuts cleanly.
Stage Four: Drying
After demoulding comes drying, and this is where many otherwise good pieces are lost. Drying must be slow and even, because water evaporates from the surface faster than it migrates from the interior, and the resulting stress shows up as cracks. Direct sunlight, hot air and strong draughts are avoided. The usual routine is shade-drying at room temperature for one or two days, then an oven at 40 to 60 degrees to finish. A body that emerges from drying without cracks is ready for the kiln.
Stage Five: Firing
Firing transforms the dried green body into ceramic by sintering the particles together. The firing curve u2014 rate of rise, peak temperature, hold time, cooling rate u2014 depends on the material and follows a fixed specification. For porcelain this means a high-temperature firing that vitrifies the body and gives it translucency and strength. If the slip contained organic additives, the early firing includes a slow burn-out stage to remove them without bloating the body. Peak hold and cooling are then controlled to avoid thermal shock and warping; the exact curve varies by recipe and stays closely guarded workshop knowledge in Jingdezhen.
Seen end to end, the slip casting process is a chain of tolerances rather than a single skill. Each stage feeds the next, and the piece carries the memory of every step into the kiln. That is why Jingdezhen studios that offer custom ceramic sculpture commissions in China walk through each step with the client before the first mould is made: the method is part of the design.
Frequently Asked Questions
What are the five stages of the slip casting process?
Preparing the slip, pouring it into the mould to form the body, demoulding and trimming the green piece, drying it slowly, and firing it to maturity.
What viscosity should a porcelain casting slip have?
A typical porcelain slip drains from a Tu-4 flow cup in 20 to 40 seconds, with a solid content of 65 to 75 percent and a slightly alkaline pH of 8 to 10.
How do you know when a cast body is ready to demould?
When the colour has lightened, a light finger press leaves no dent, and the body has shrunk slightly away from the mould edge.
Why is slow drying so important in slip casting?
Because water evaporates from the surface faster than it migrates from the interior, and uneven drying creates internal stresses that cause cracking.
Related Reading
For the four casting methods and where each is used, read Slip Casting Methods Compared. For the hollow casting technique in detail, see Hollow Slip Casting in Jingdezhen. For slip quality and how to inspect a cast piece, read Slip Quality and Casting Defects. For the body recipe itself, see How the Jingdezhen Porcelain Body Is Made.
We cast Jingdezhen porcelain through every stage of the process, from slip preparation to high-temperature firing, for single sculptural pieces and full production runs. Browse the collection, see our custom ceramic sculpture commissions, or email us. We also answer questions on WhatsApp.
Published 31 October 2026 by Jingdezhen Heritage, a porcelain studio in Jingdezhen, Jiangxi, China.