How is Jingdezhen porcelain made?
Jingdezhen porcelain is known for the many skilled hands involved in its making. A traditional account describes the work as passing through 72 operations before a vessel is complete. The number is best understood as a way to express the craft’s finely divided labor: the exact sequence and techniques can vary with the form, decoration, workshop, and period. A small bowl, a large vase, and a sculptural piece do not necessarily follow an identical route.
The process begins long before a potter touches the wheel. Porcelain stone and other carefully selected materials must be prepared; the clay body is refined, shaped, dried, decorated, glazed, and fired. Some wares receive underglaze painting, sculpted details, or additional overglaze enamel and a second firing. This guide follows the 72 operations in the traditional account supplied by Jingdezhen artisans and explains what each stage contributes to handmade Chinese porcelain.
1. Finding and extracting raw materials (Steps 1–2)
- Survey the mountain: Craftspeople identify deposits of porcelain stone and other local materials suitable for ceramic bodies and glazes. Kaolin is not exclusive to Jingdezhen; the character of a body comes from its particular material blend and preparation.
- Break the ore: In historical mining, heat and water could crack hard exposed stone before workers extracted it with hand tools.
2. Crushing and preparing porcelain stone (Steps 3–10)
- Carry the stone: Stone was moved from hillside mines, often to a nearby water-powered mill.
- Break it by hand: Large pieces were reduced to smaller chunks for further processing.
- Wash and sort: Washing removed surface dirt and unwanted material.
- Pound the stone: Waterwheels powered pestles that gradually ground the stone into powder.
- Wash the ground material: Workers stirred and washed the powder, separating finer clay-rich material from coarse residue.
- Sieve it: Screening removed remaining grit.
- Settle the slurry: Fine particles settled in tanks while excess water was removed.
- Form clay blocks: The concentrated clay was shaped into blocks for storage and later use.
3. Transport and distribution (Steps 11–12)
- Move materials by water: Rivers and waterways connected mountain sources, mills, traders, and workshops.
- Supply the workshops: Material merchants sorted and sold clay to specialist makers. Jingdezhen’s historic production depended on a network of trades rather than one craftsperson doing everything alone.
4. Preparing glaze ingredients (Steps 13–14)
- Prepare glaze ash: In some traditional glaze recipes, limestone and plant ash were fired, washed, and aged to make an ingredient for the glaze.
- Mix the glaze: Glaze materials were measured and combined with water to suit the ware and intended surface.
5. Making firing supports (Steps 15–16)
- Build saggars: Clay firing containers protected pieces from ash, flame, and contact with other wares in a wood-fired kiln.
- Fire the saggars: The containers were fired before use so they could withstand repeated kiln cycles.
6. Making and calibrating molds (Steps 17–18)
- Make the mold: A mold was shaped for a particular form, with allowance for shrinkage as the clay dried and fired.
- Refine the dimensions: The mold was adjusted so the finished vessel would have the intended proportions.
7. Refining the clay body (Steps 19–24)
- Re-slake clay blocks: Dried clay was broken up and mixed with water to form a workable slurry.
- Wash and filter: Sieves and other simple tools removed coarse particles and impurities.
- Thicken the clay: Water was allowed to drain or evaporate until the slurry became workable.
- Age the clay: Resting the clay helped even out its moisture and improve its plasticity; the time varied by practice and material.
- Cut and fold the clay: Repeated working helped make the clay more uniform and dense.
- Tread the clay: Foot kneading was another traditional way to prepare a consistent body.
8. Forming the vessel (Steps 25–30)
- Knead the clay: The potter worked the clay to distribute moisture and reduce trapped air.
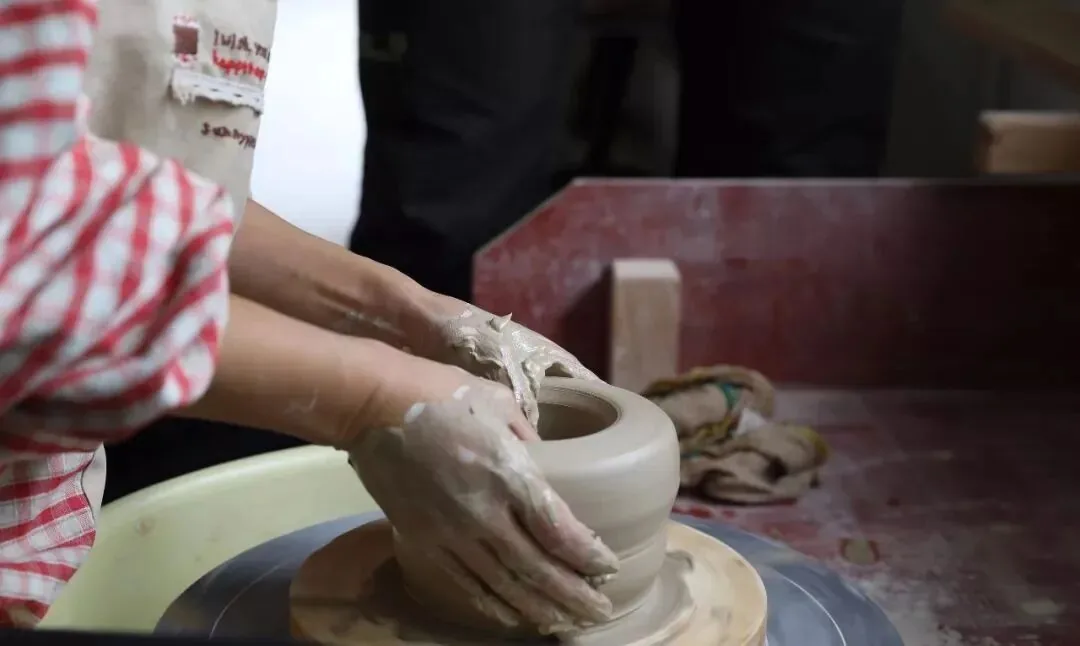
- Throw the form: On a rotating wheel, the potter shaped the clay by hand into a bowl, vase, or other vessel.
- Press into a mold: Some forms were shaped by pressing a clay slab or coil against a mold.
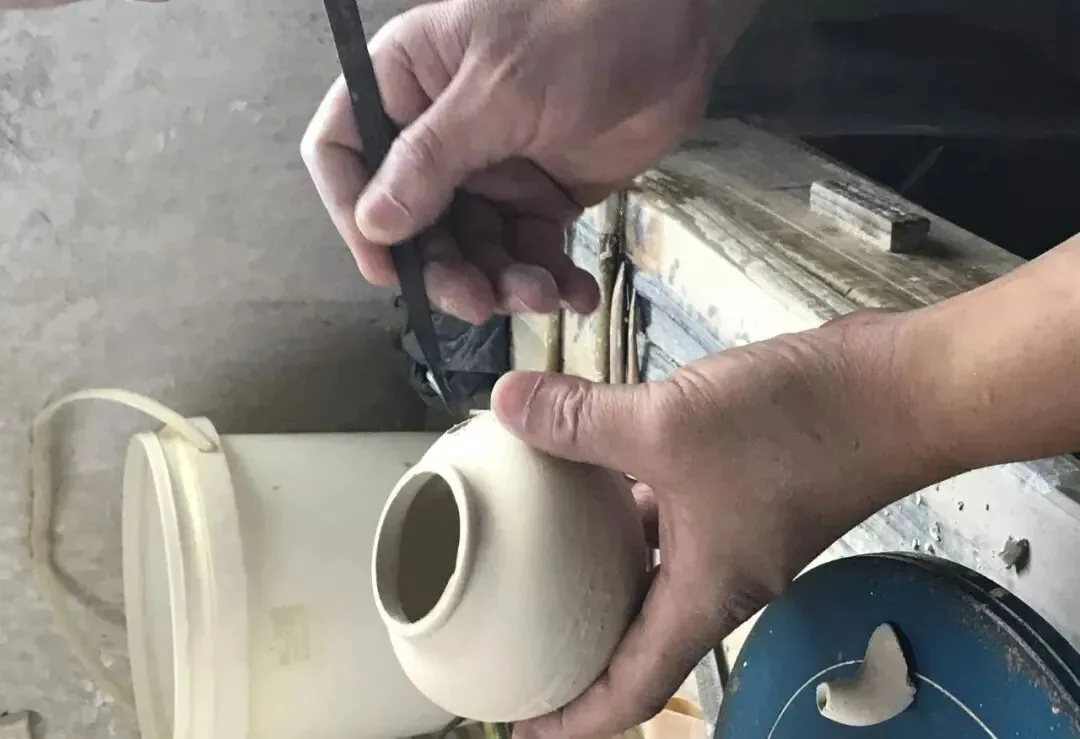
- Trim the vessel: Once leather-hard, the piece was turned and pared to refine its profile and wall thickness.
- Join components: Handles, feet, necks, or other separately formed parts were attached with prepared clay slip.
- Cut and refine the foot: Excess clay was removed to finish the base and foot ring.
9. Carrying and drying the unfired ware (Steps 31–33)
- Carry the greenware: Unfired pieces were moved carefully between the forming, decorating, and drying areas.
- Arrange the pieces: Vessels were placed on racks or boards with care to avoid pressure and collision.
- Dry evenly: Controlled drying reduced the risk of warping and cracking before firing.
10. Painting underglaze blue (Steps 34–37)
- Prepare cobalt pigment: The blue pigment was ground and mixed to a smooth consistency.
- Test the color: Sample marks could be fired to judge how the pigment would develop in the kiln.
- Paint the outlines: The decorator drew the design on the unfired body with a brush.
- Add washes and shading: Diluted pigment created tonal variation, a quality often associated with hand-painted blue-and-white porcelain.
11. Sculpting and carving (Steps 38–39)
- Model sculptural details: Reliefs, figures, and other three-dimensional elements were shaped by hand, with shrinkage considered during making.
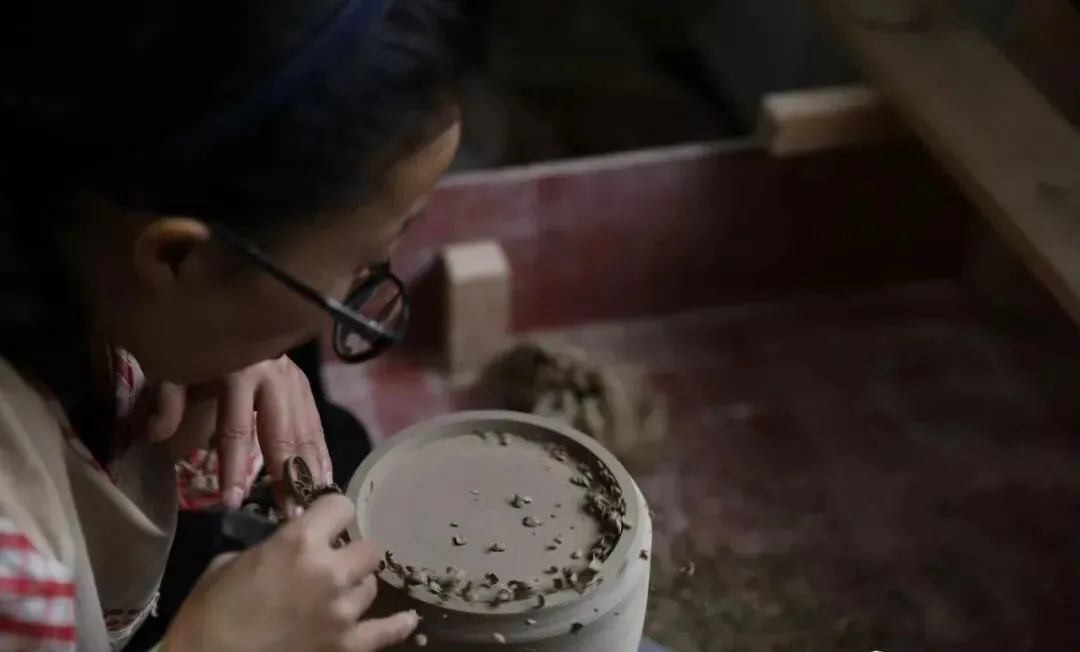
- Carve the surface: Lines and patterns were incised into the clay body before firing.
12. Applying glaze (Steps 40–47)
- Dampen and clean the body: A damp brush removed dust and helped reveal small flaws before glazing.
- Pour glaze inside: Glaze was poured into a vessel and moved around to coat its interior evenly.
- Blow on glaze: A traditional bamboo tool could atomize glaze onto complex or large forms in successive layers.
- Dip the vessel: Immersion coated a piece using the clay body’s absorbency to draw glaze onto the surface.
- Pour glaze over large pieces: Large forms could be coated by pouring glaze over the rotating or supported vessel.
- Glaze the foot area: The base or recessed foot could receive a separate glaze application where needed.
- Touch up thin spots: The maker checked for missed areas and corrected uneven coverage.
- Clear the contact surface: Glaze was removed from the foot where it might fuse to the firing support.
13. Loading and firing the kiln (Steps 48–54)
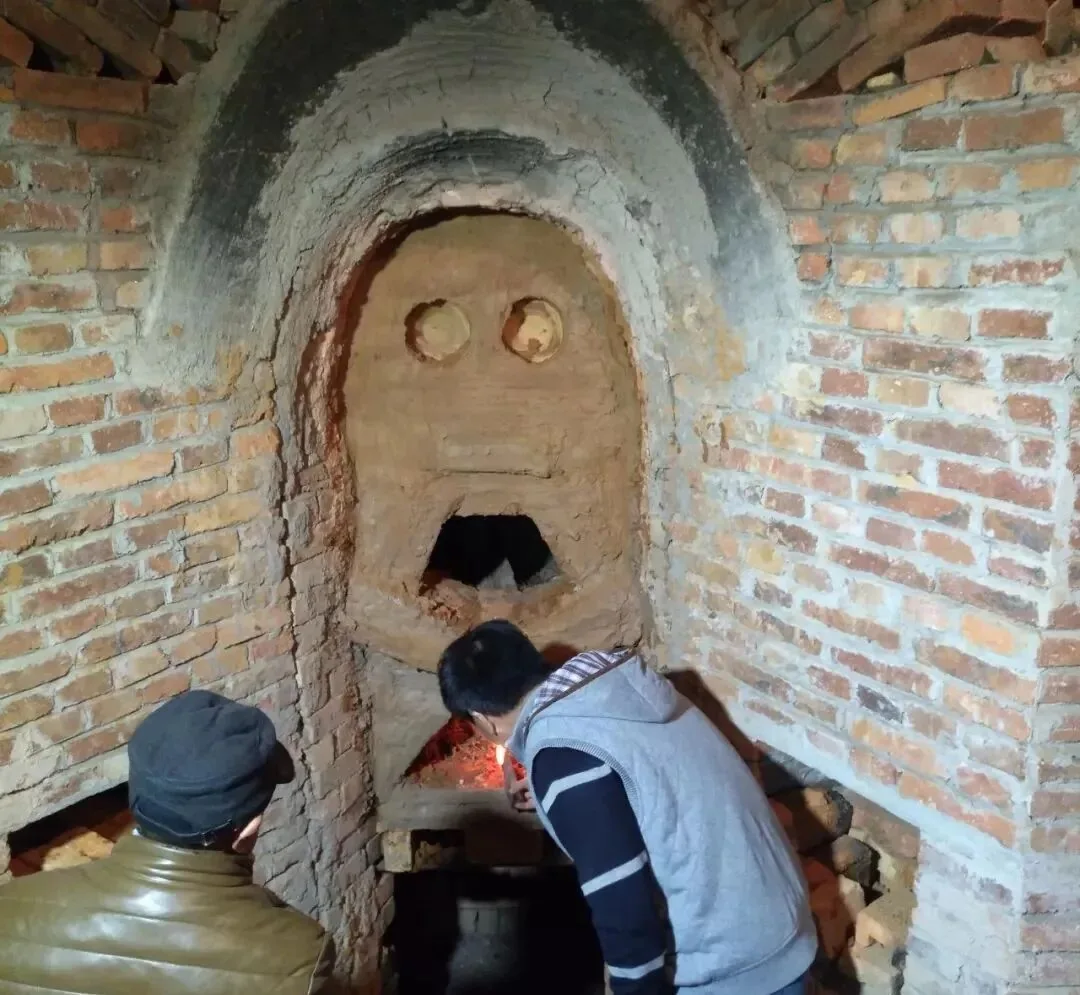
- Prepare the saggars: Firing containers were cleaned and checked before loading.
- Load the ware: Each piece was placed in a suitably sized saggar or firing position.
- Pack the kiln: The kiln was loaded with attention to spacing, airflow, and differences in heat across the chamber.
- Prepare the fuel: In a wood-fired setting, fuel had to be selected, cut, and brought to the kiln.
- Light the kiln: Firing began with a carefully managed rise in heat.
- Read the fire: The kiln master monitored flame and temperature and guided the firing decisions.
- Fire the ware: The firing team maintained the kiln until the clay and glaze matured.
14. Unloading and inspecting (Steps 55–59)
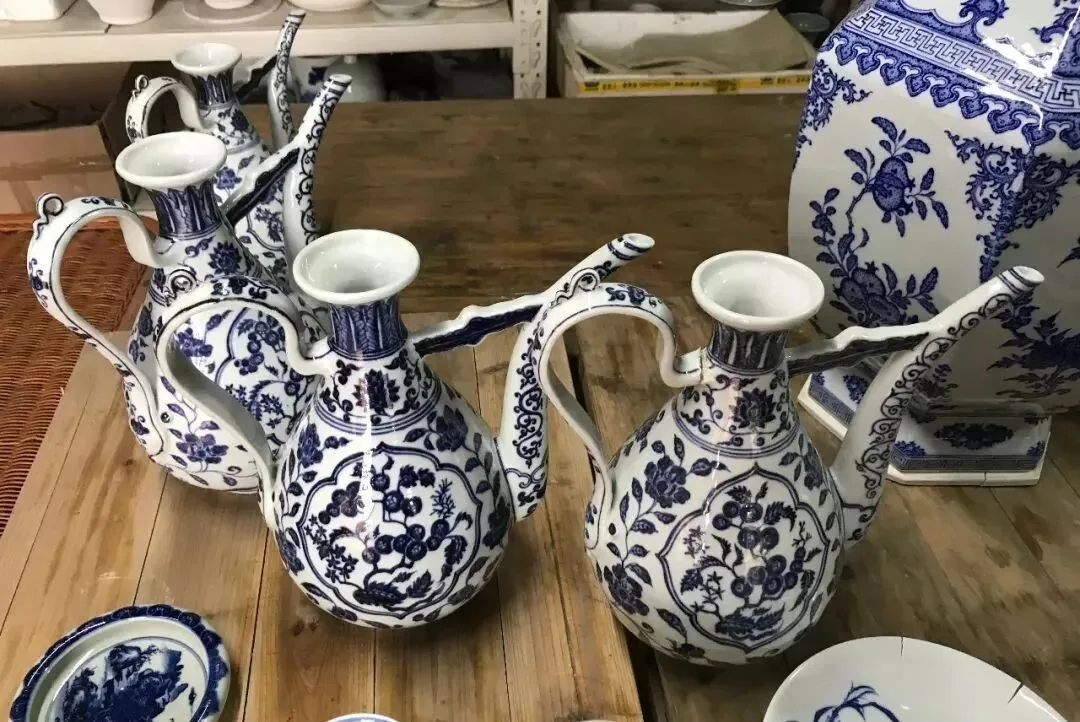
- Open the kiln after cooling: Pieces were removed only after the kiln had cooled sufficiently.
- Inspect the results: Craftspeople examined color, glaze, form, and firing quality.
- Sort and pair the pieces: Matching forms or sets could be grouped together.
- Place selected ware in baskets: Pieces were prepared for handling and transfer.
- Repair the kiln: Traditional wood-fired kilns required maintenance and rebuilding after repeated firings.
15. Painting overglaze enamels (Steps 60–70)
- Grind the pigments: Enamel colors were ground to a fine powder before use.
- Mix the colors: Pigments were combined in measured proportions to achieve the required hues.
- Prepare a design: The painter planned the composition to fit the shape of the vessel.
- Transfer the outline: A drawn pattern could be transferred onto the glazed surface as a guide.
- Prepare the enamel colors: The colors were worked with a suitable medium until they could be applied with a brush.
- Paint the design: Artisans painted motifs directly onto the glazed ware.
- Fill areas of color: Selected sections were filled to build the composition.
- Shade and layer: Tonal work added depth, light, and dimensionality.
- Incise through a colored ground: In techniques such as yangcai sgraffito, a design was scratched through a colored layer to reveal contrast beneath.
- Add inscriptions or marks: A maker, date, studio, or poetic inscription could be written on the piece.
- Fire the enamels: A lower-temperature firing fixed the overglaze colors to the surface.
16. Packing for transport (Steps 71–72)
- Wrap the porcelain: Straw, paper, or other protective packing separated fragile pieces in traditional transport.
- Pack for shipment: Ware was secured in a container such as a wooden cask so it could travel by land or water.
Why does Jingdezhen porcelain involve so many stages?
The 72-step account makes visible the division of skill behind traditional porcelain making. Preparing clay, forming a vessel, painting a design, firing a kiln, and judging the finished surface call for different knowledge. A hand-painted porcelain bowl therefore carries traces of many decisions: how the clay was refined, how the walls were shaped, how the brush met the surface, and how heat transformed the glaze.
The historical list should not be read as a single checklist followed identically by every workshop today. Techniques change with the object, materials, equipment, and maker. What endures is the close attention given to each stage of the Jingdezhen porcelain-making process.
Explore Jingdezhen craftsmanship
From porcelain-stone preparation to hand painting and kiln firing, the traditional process joins material knowledge with practiced judgment. Explore our collection of Jingdezhen porcelain to see how historical forms and decorative techniques continue to inspire contemporary handmade works.
Contact Jingdezhen Heritage
Would you like to learn more about Jingdezhen porcelain, a particular decorative technique, or a piece in our collection? Contact us to discuss your questions or a custom commission.